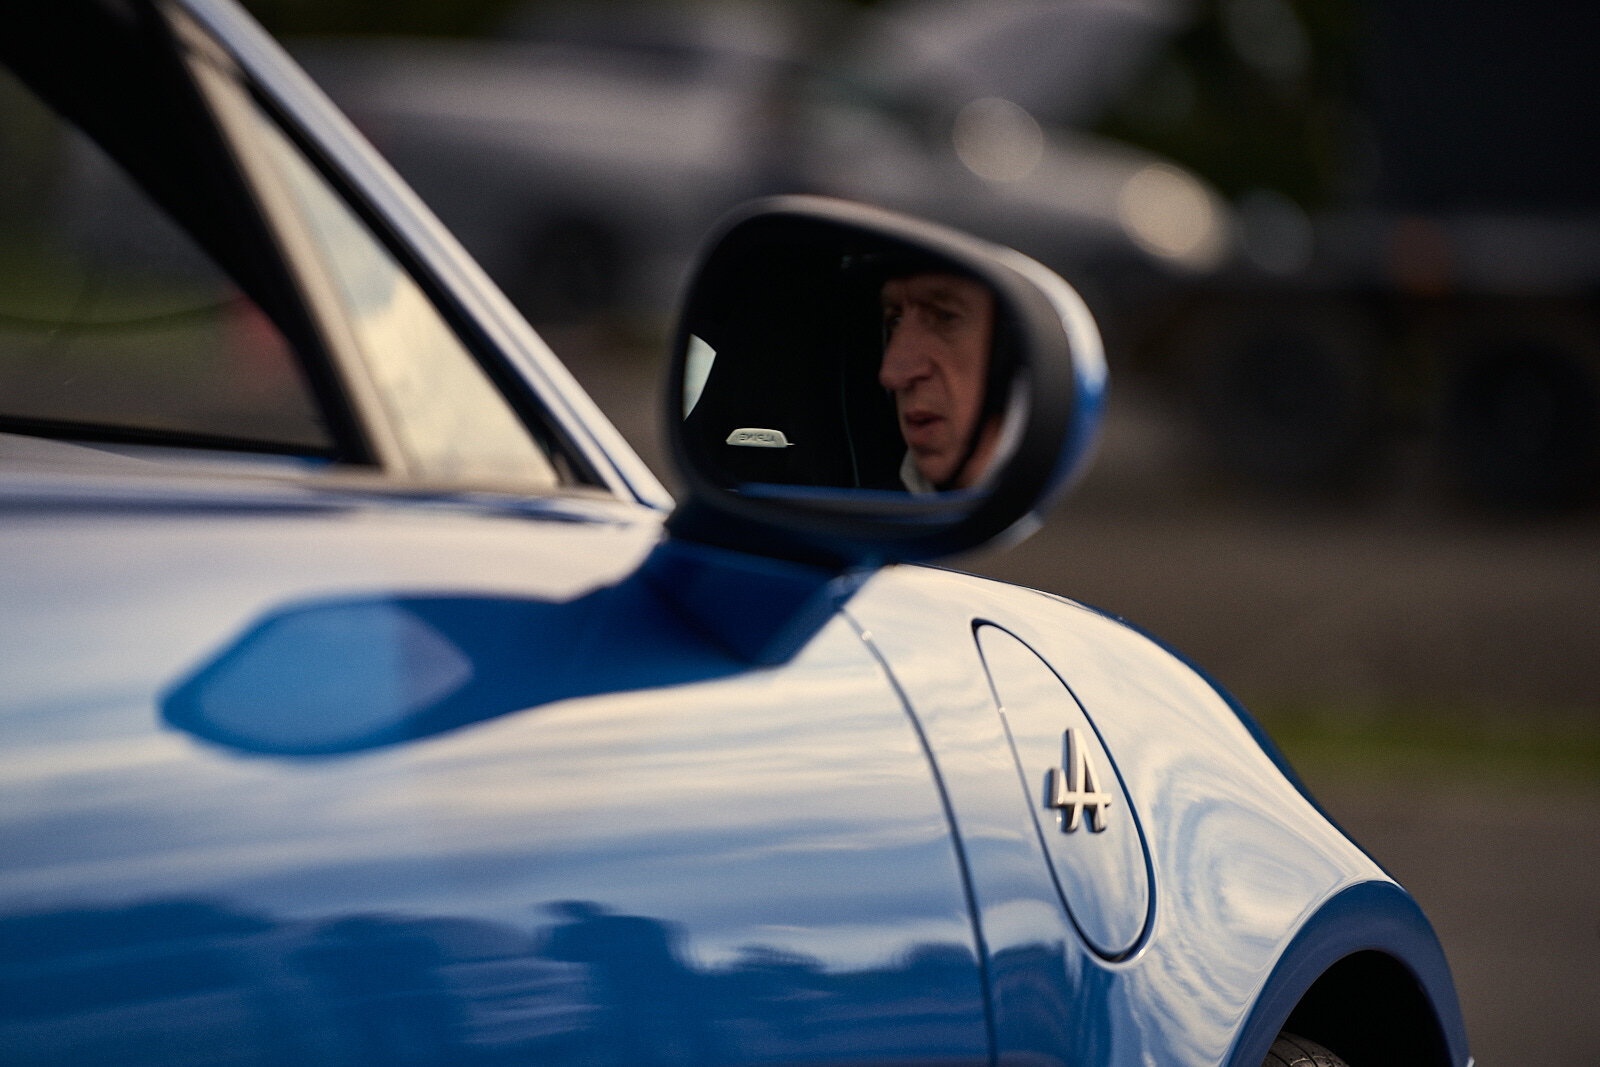
Haunted Hills

Track day. Camera. Cars. What can I say but amazing fun, hair-raising, pulse-pumping driving and one or two absolutely beautiful classics on show, including the original A110 you’ll see featured heavily here, as well as a duck tail 911. I guess this is more an impressions collection than anything else. My first attempt at track footage, so you’ll have to forgive the occasional photographic clumsiness, but it captures the impression I think.

Organised by Steve Pizzati of PilotaSportiva and a popular haunt for the Alpine passionné. To be honest, the A110 was absolutely in its element - light, agile, beautiful balance. I’m kind of hooked. Now I’ve started fiddling with my son’s old GoPro and a track day app. There goes the mortgage.

Artisan

Still in lock down. My photography itch is very hard to scratch at the moment, with the only option local shots around the street (I should take the macro out).

However, I’ve recently had my car fully detailed and ceramic coated at Dan’s Garage Detailing. Dan is an exceptional detailer, an artisan of his trade, working on same absolutely stunning machines but with a singular focus on quality and on working with the right customers. On top of that, his workshop is amazing, fully kitted out with temperature accurate lighting, wash bays, detailing bays and a host of other cool features (including a great coffee machine).

His studio provided the perfect environment for shots of my finished car. I particular love the way the bay entrance provides a natural frame for the image, and in the very first shot, I’ve manipulated the lighting to provide a halo around the car reminiscent of a showroom display. The neutral grey is ideal as well, bringing the colour and shape of the car to prominence.

So in honour of his talent and hard work, I present to you photos from Dan’s Garage. Thanks Dan for posing. You look great.

TRICOLOR | CAR BLUE

What do you do when your passion is photography and you’re stuck at home in isolation. Ok, yes, I could make macro photos or take portraits of the family members who are actually allowed onto the property. But these aren’t really my “thang”. But I have wanted to turn my hand to light painting, and being stuck inside the one-third of an acre boundary of my residence is making me desperate.

Not really.

But as any photographer will say, piking a way to challenge yourself is a good way to develop. So here we have my first real attempt at using light painting in my photography, along with some heavy compositing. It is an image of my car. It was parked in my garage at the time, and I opened the garage door to be able to do this. The space inside the garage is confined and cluttered, and so I decided to work th rear of the car (which is the bit I like the most anyway) using what I had to hand, which was:

620633_Storm_MTBK_web.jpg
  • a head torch (for camping, shown right)

  • a tripod

  • a remote trigger

I lined up the camera in the drive outside the garage, waited until the sun was completely gone and then proceeded to collect a series of images by shining the head torch onto the car from various angles. Almost all the images were taken at f/8.0 with an exposure time of 8 sec. The collection of base images I collected is shown below. They included images with the rear illuminated, with nothing but the parking lights on, with various parts of the car illuminated in succession (each side of the roof, the boot, the haunches of the car) and so on. I even used the red light on the head torch to reveal the ground but in a different colour.

Like a puzzle, the process involves layering these in post-processing (I use Affinity Photo but Photoshop would do the same), and then combining them piece by piece using masks and careful adjustments of exposure using a brush. I labelled the images carefully before starting with descriptive terms like rear, rear lights, left flank, right roof, so that I knew what each images was useful for. I rejected a few because they weren’t helpful. The screenshot below gives some idea of the number of layers I ended up with as I produce the final image (probably about 60 in total, with masks and other adjustment layers thrown into the mix). The layer shown in this image is a composite of six images in the grid above, combining tail lights, reflectors and red illumination on the garage floor.

As an aside, I really like the way Affinity Photo automatically includes masks with each adjustment layer—an elegant solution to Photoshop’s multiple clicks to achieve the same result.

After arriving at the final composite image in Affinity Photo, I imported the image into Capture One, both to document it (Capture One is great for storing and organising catalogues of images) but also to do some final touch ups (essentially adding some grain and doing a final global adjustment for exposure, vibrance and so on). I could do these in Affinity too, but the layers in Affinity can get very deep and the file very large (in excess of 2 GB), so these last touches are just as easy to do in Capture One and Capture One does them non-destructively.

The final result is my first light painted car:The next car I’ll do is vibrant red. I also rendered a monochrome version because I like the way it emphasises the design language.